
tl;dr
This tutorial walks you through generating a GitHub Personal Access Token (PAT) with
repoandwrite:packagesscopes, and configuring your MCP client (e.g., Claude Desktop) to use themcp-playbookserver vianpx.
The mcp-playbook server enhances your AI-assisted development workflow by providing tools to manage documentation and synchronize knowledge. This guide will show you how to set it up using npx.
Prerequisites
- Node.js and npm installed: Ensure Node.js (which includes npm) is installed on your system. You can download it from Node.js official website.
- GitHub account: You'll need a GitHub account to create a Personal Access Token.
- MCP client: An application that can use MCP servers, such as Claude Desktop, Cursor, or a compatible LLM environment.
Step 1: Create a GitHub personal access token (PAT)
The mcp-playbook server interacts with GitHub repositories (like dwarvesf/prompt-log, dwarvesf/prompt-db, and dwarvesf/runbook) and potentially GitHub Packages. For these interactions, you need a Personal Access Token (PAT) with appropriate permissions.
-
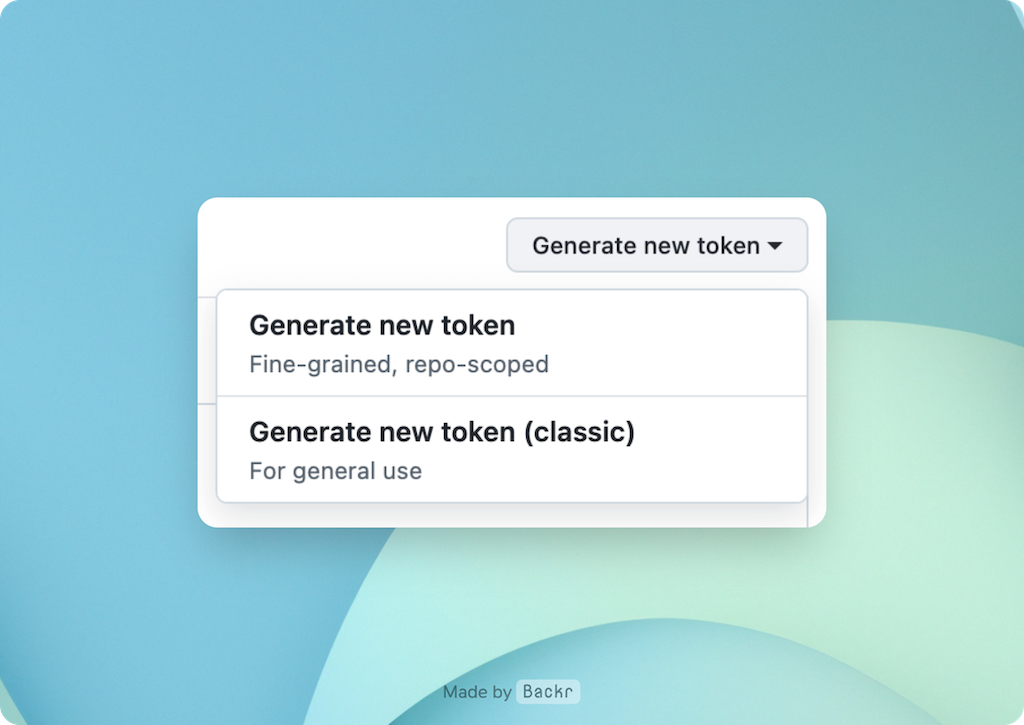
Navigate to GitHub token settings:
- Go to your GitHub account settings.
- In the left sidebar, click Developer settings.
- Then, click Personal access tokens, and select Tokens (classic).
- Click Generate new token, then Generate new token (classic).
- Or if you're lazy: https://github.com/settings/tokens
-
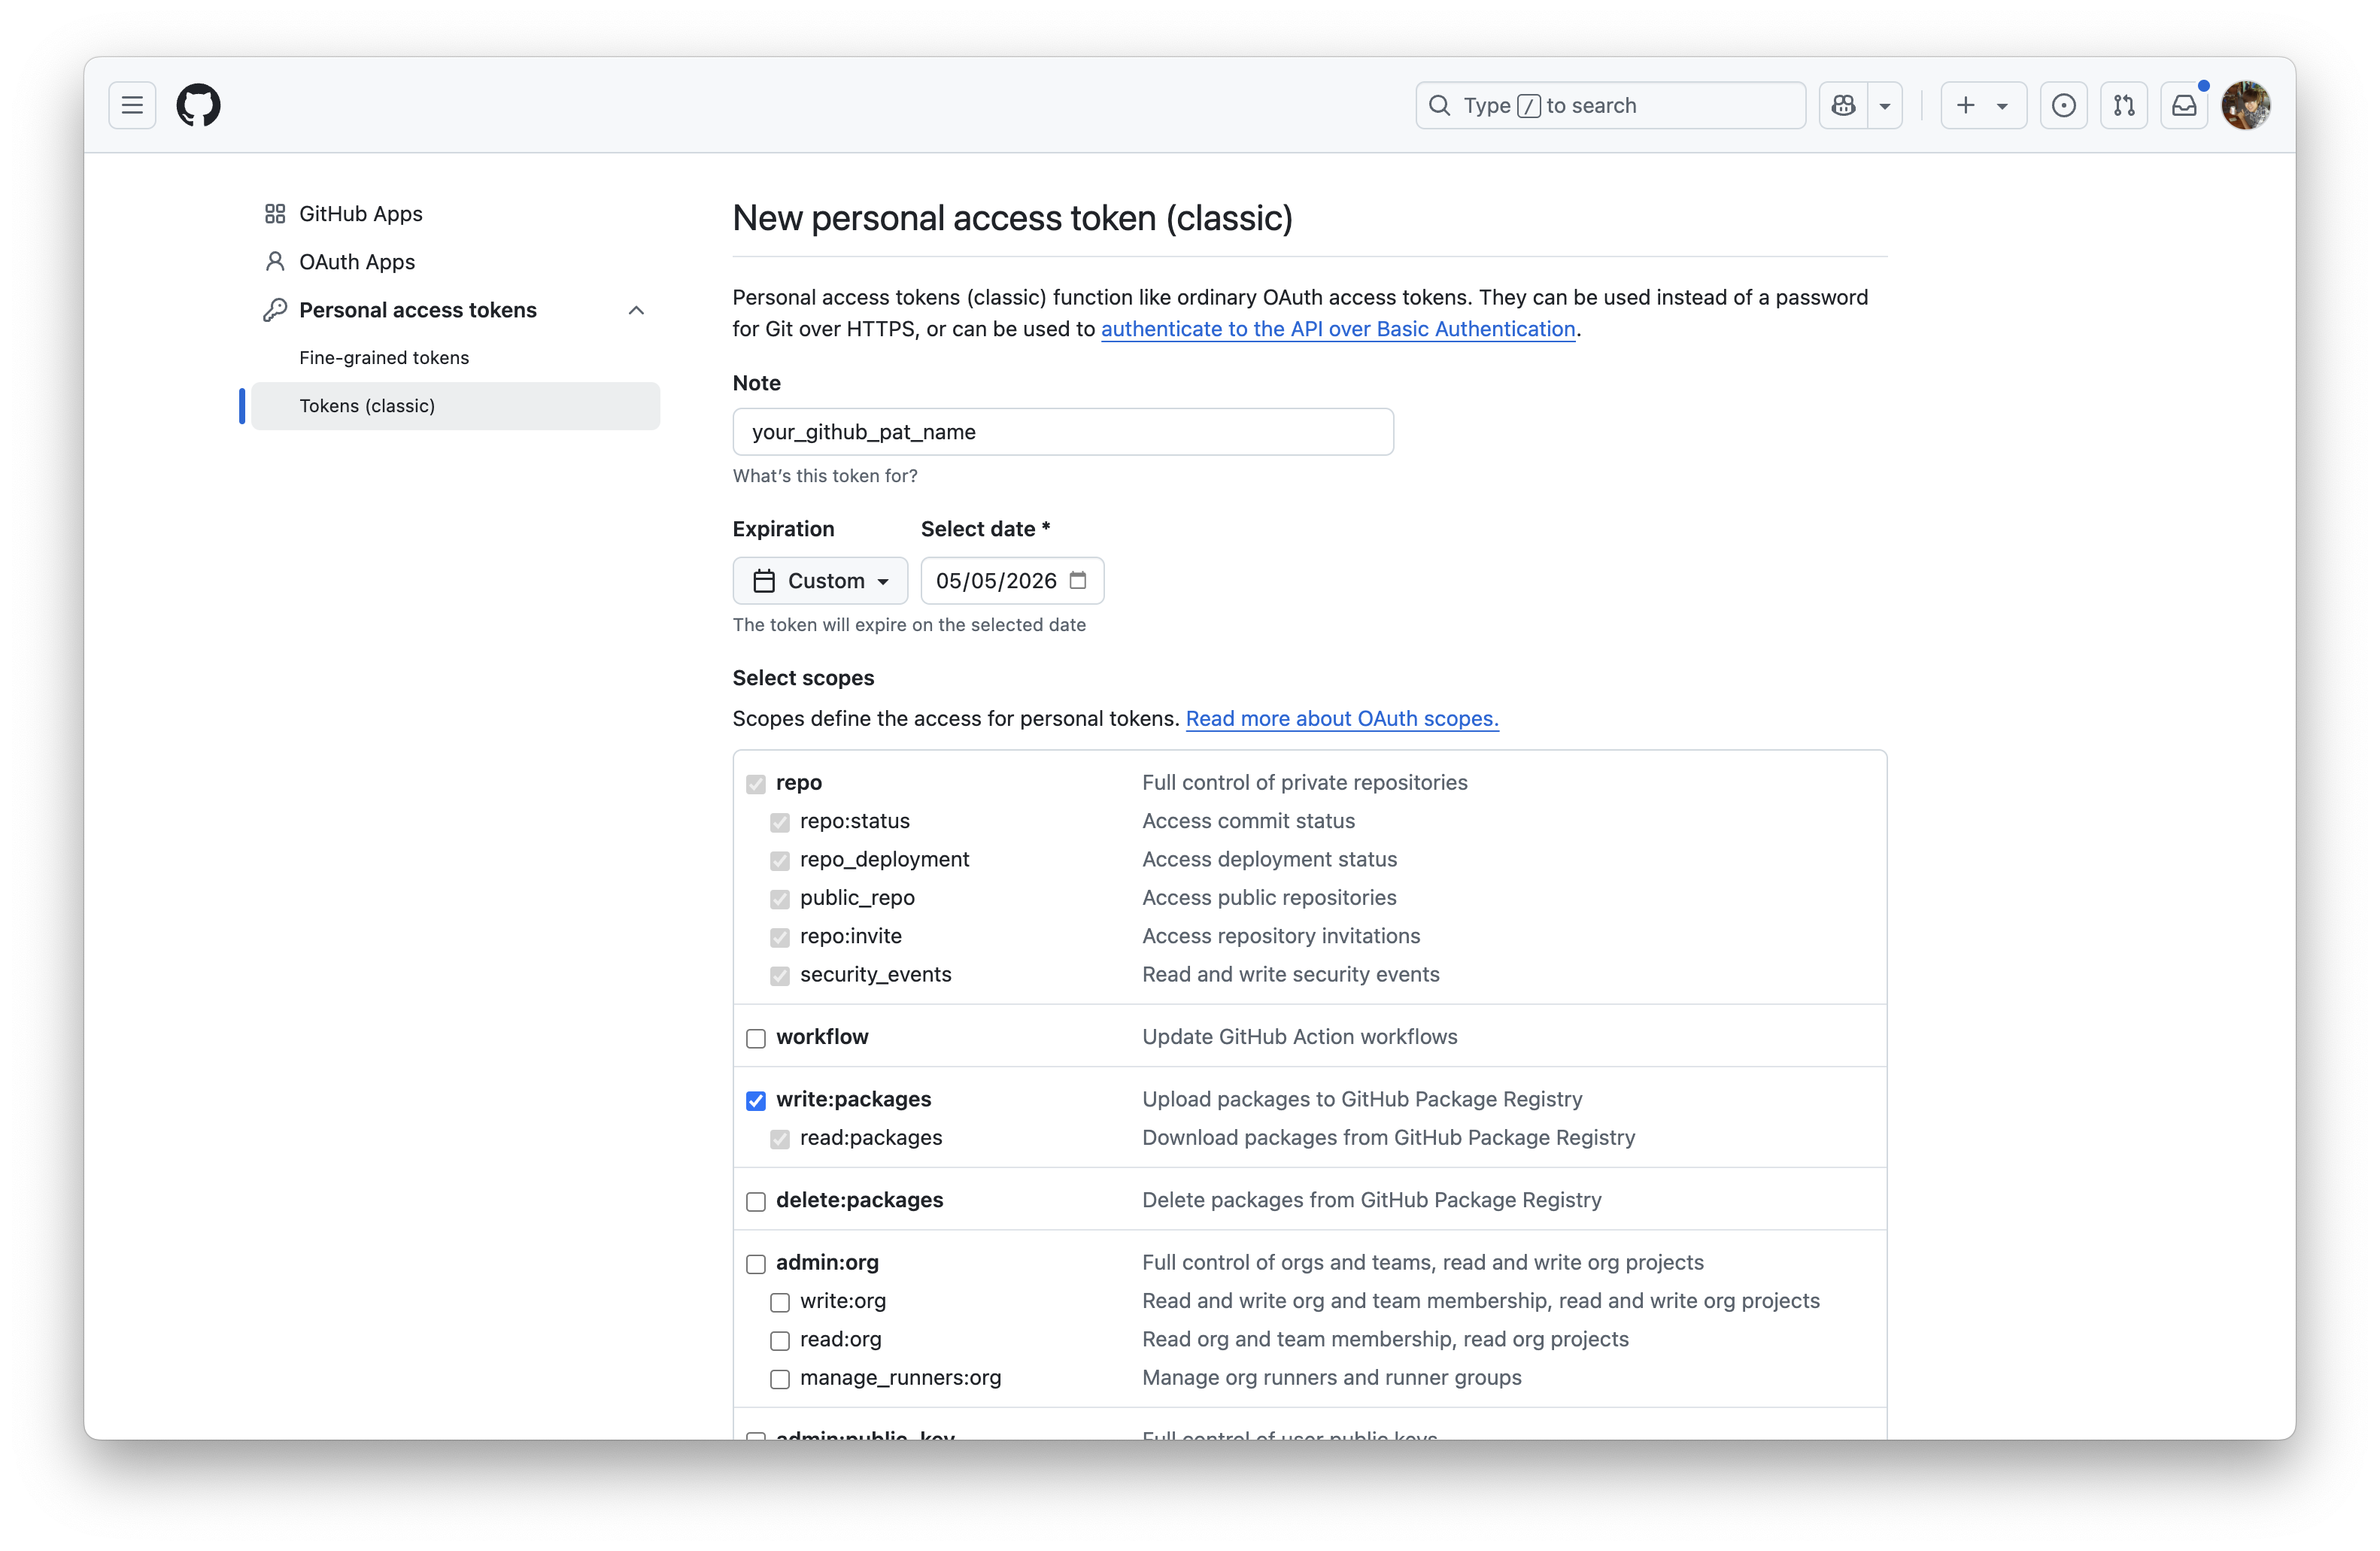
Configure token scopes:
- Note: Give your token a descriptive name, e.g.,
mcp-playbook-access. - Expiration: Set an appropriate expiration period for your token.
- Select scopes:
repo: Essential formcp-playbooktools that interact with your code repositories (e.g.,save_and_upload_chat_log,sync_prompt,suggest_runbook). This scope grants full control of private repositories.write:packages: This scope (which includesread:packages) allows interaction with GitHub Packages. While not strictly required for all current core features, it's recommended for potential future capabilities ofmcp-playbookor if specific tools need to manage or access packages in GitHub's package registry.
- Note: Give your token a descriptive name, e.g.,
-
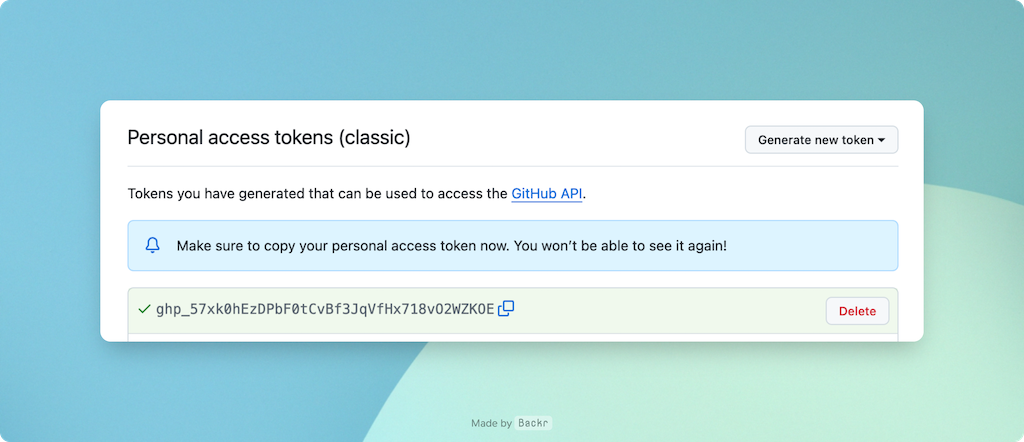
Generate and copy the token:
- Click Generate token at the bottom of the page.
- Important: Copy the generated token immediately. You will not be able to see it again. Store it securely, for example, in a password manager.
Step 2: Configure your MCP client
The final step is to tell your MCP client (e.g., Claude Desktop, Cursor) how to run the mcp-playbook server. The server will be run using npx, using the PAT for GitHub authentication.
-
Find your MCP client's configuration settings: This varies by application. For example, in Claude Desktop, you might find a JSON configuration file or a settings UI for MCP servers.
-
Add the
mcp-playbookserver configuration: You'll need to add a JSON object similar to the following. Replaceyour_github_token_herewith the actual PAT you generated in Step 1.{ "mcpServers": { "mcp-playbook": { "command": "npx", "args": ["-y", "@dwarvesf/mcp-playbook@latest"], "env": { "GITHUB_PERSONAL_ACCESS_TOKEN": "your_github_token_here" } } } }Explanation of parameters:
"command": "npx": Tells the client to usenpxto run the package."args":"-y": Skips confirmation whennpxinstalls the package."@dwarvesf/mcp-playbook": The name of the package to execute.
"env":"GITHUB_PERSONAL_ACCESS_TOKEN": "your_github_token_here": This makes the GitHub PAT available as an environment variable to themcp-playbookserver process. The server will use this token to authenticate with GitHub for operations like saving chat logs or suggesting runbook entries.
-
Add the initialization prompt (if required by your client): Some clients might require you to specify an initialization prompt in their rules to ensure the
mcp-playbooktools are recognized. The recommended prompt is:ALWAYS run the `init_playbook` tool before starting to get instructions on how things should be done and documented.Add this to your client's global prompts or rules for when
mcp-playbookshould be active.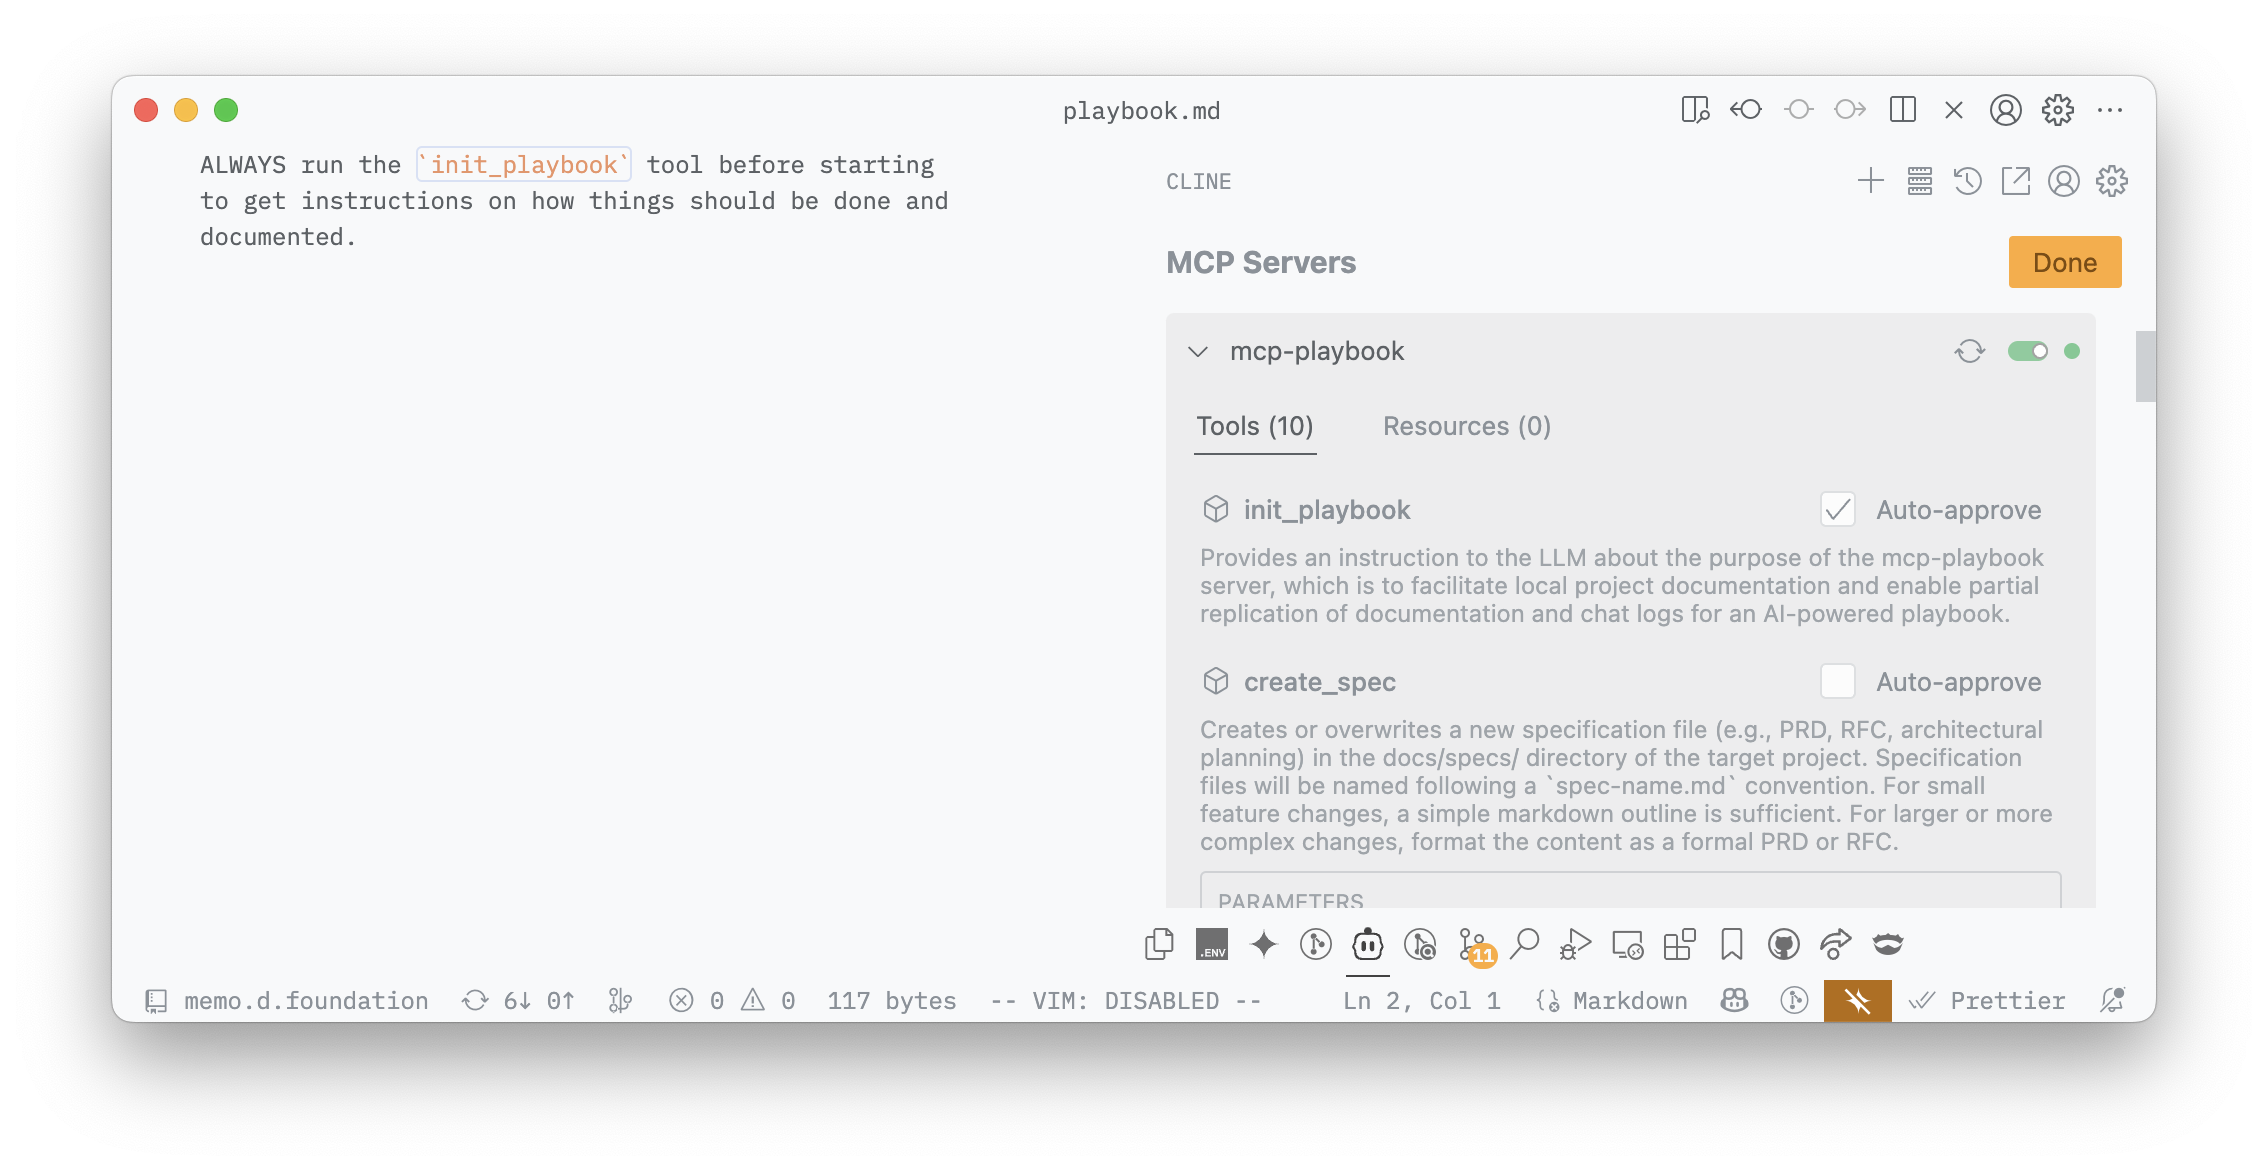
Step 3: Test the setup
- Restart your MCP client to ensure it picks up the new configuration.
- Attempt to use an
mcp-playbooktool. A simple test is to ask your AI assistant to run theinit_playbooktool. For example: "MCP Playbook, initialize yourself." or trigger a tool call forinit_playbookdirectly.
If the setup is correct, the MCP client should execute the npx command, and the mcp-playbook server should start and respond. You should see output in your MCP client's logs or the AI's response indicating the init_playbook instruction.
Troubleshooting
npxcommand not found / errors during execution:- Ensure Node.js and npm are correctly installed and that their installation directory is in your system's PATH.
- Try running
npx -y @dwarvesf/mcp-playbook --version(if the package supports a version flag) or a simple command likenpx cowsay helloin your terminal to check ifnpxis working. - Check for error messages in your MCP client's logs or terminal output when the command is run.
- Server not starting or exiting immediately:
- Ensure the
GITHUB_PERSONAL_ACCESS_TOKENis correctly passed in the MCP client configuration. Themcp-playbookserver needs this token to operate fully. - Check for any error messages from Node.js or the
mcp-playbookscript itself.
- Ensure the
- Tools failing (e.g., cannot save chat log):
- Confirm your PAT has the
repo(and potentiallywrite:packages) scope for repository and package interactions. - Ensure the
target_project_diryou are using in your tool calls is an absolute path and accessible by the user running the MCP client (and thus thenpxcommand). - For
save_and_upload_chat_log, ensure theuserId(andeditorTypeif applicable) are correctly specified.
- Confirm your PAT has the
You have now successfully set up the mcp-playbook server! You can leverage its tools to automate documentation, manage chat logs, and interact with your team's knowledge base more effectively.
